For clients as well as designers, the brand identity process seems shrouded in secrecy. Clients don’t ask because they feel they’re invading the designers’ creative space. Designers don’t tell because they may not have a defined process to share.
So, what’s behind the brand identity design process? While there is some mystery to creativity, in order to develop identities that solve real business problems, a clear approach to the process is critical. Of course, designers may not always go through this process in the same order, or may only emphasize parts of it, but for clients and designers alike, a pathway is necessary.
Here we’ll uncover this process to help businesses understand what they’re walking into, and also to help designers effectively produce brand identities with consistent high-quality results. Let’s go!
Research & Discovery
Some clients think they need to find a designer who’s an expert in their specific field. Actually, what they need are fresh eyes and expertise in an area they don’t already have. Here lies the designer’s strength and why research is needed in every project before beginning visual design.
It All Starts with a Conversation
As early in the process as possible, it’s best to transition from email exchanges to a phone call, video chat, or even better, a meetup. This helps break the ice and provides an atmosphere where trust can be built. The goal here is not only to get comfortable, but to gain a deep understanding of the company. Everything a designer needs to know is in the heart and the mind of the founder—they just may need help digging it out. This is where the right questions are key.
Asking the Right Questions
So, what are the right kinds of questions to ask? You might start with basic questions about timelines, budgets, and project goals, but at some point you need to dive deeper. Your objective is to uncover the vision of the company—why they’re doing what they’re doing, as well as what makes them distinct from competitors, and any problems posing a challenge to them. You can also inquire about their target audience and demographics.
Getting to Know the Industry
Along with getting to know the client, it’s essential to learn about the industry they’re in. This can be done through competitor audits. Survey and compare who they’re up against in order to distinguish them. You can also study specific related topics of interest. For example, during a project with a client in the medical field, there was a need for me to learn more about skin cancer treatment, their main focus. As a result, I talked to a skin cancer survivor to learn from their experience. I also researched the three layers of skin and their functions. All of this new information helped shape the design solutions.
Strategy & Direction
Having gathered what’s necessary, there’s a need to organize all of the information, define a strategy, and put it in writing so both parties can agree on the direction.
Organizing the Information
You may have notes scribbled during phone calls, websites and books flagged, photos of marked-up dry erase boards from meetup sessions, or even questionnaires filled with responses. Now organize and simplify it to begin setting the direction for the project. You can categorize related words and concepts, practice mind-mapping, or separate and emphasize more important information from lesser.
Defining the Strategy
The research and discovery are used to define a strategy. Businesses may have a vision, goals, and values, but may never have put them into meaningful words to inspire an identity which speaks to their ideal customer. Distill your findings into a single idea, key statement, or phrase that can be used across the identity system.
Creating a Design Brief
Without the above findings, it’s almost impossible to propose an informed direction. The brief should define who the client is, highlight the task at hand, confirm the project goal, convey the market position of the company, express what will differentiate them from competitors, and include other details like project contacts with responsibilities. Share this document with decision-makers to agree on the direction of the identity and move forward as a team.
Visual Design
Without the prior two phases visual design is just aimless eye candy having little value to the client’s business goals. The client is investing in the thinking and problem solving of the designer just as much as in their refined ability to manipulate form.
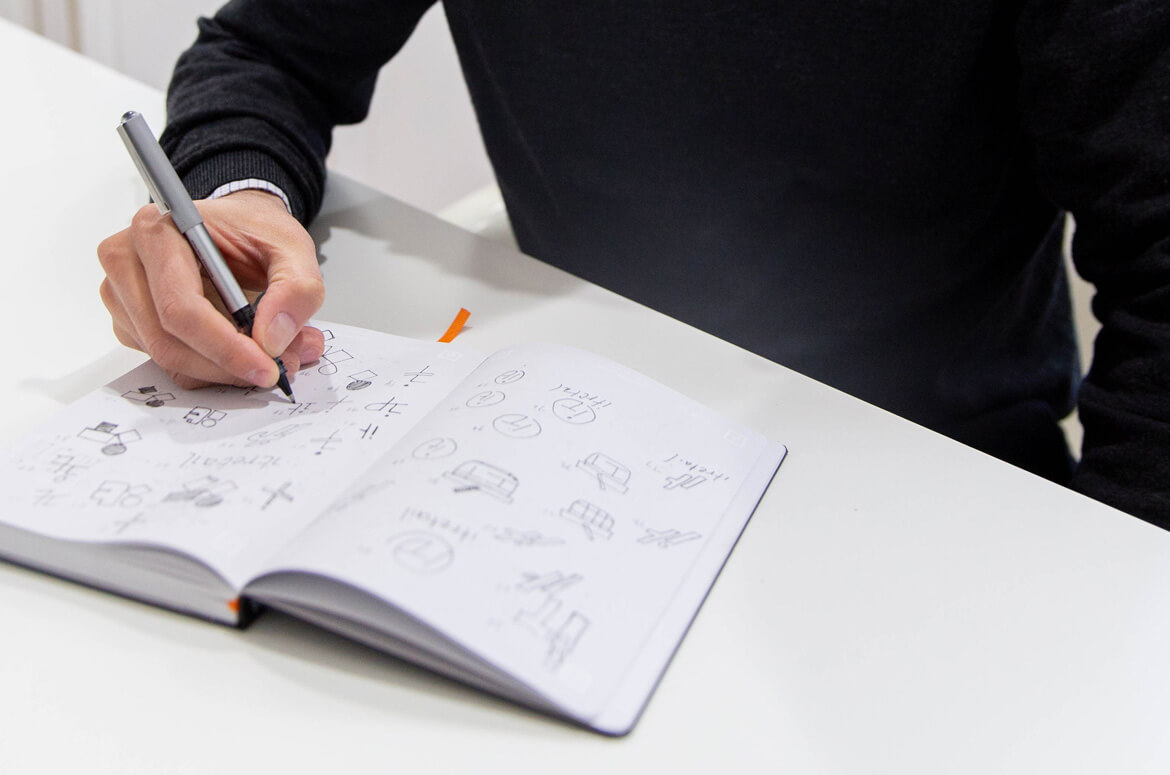
Pencil to Paper
One thing’s for sure, after the first two phases there’s a need to transform all of the abstract content into something more concrete. I find a basic pencil and paper to be the most helpful tools for quickly visualizing ideas. Yet, some find sketching digitally more useful. Either way, get as many ideas as you can out of your head and down on the page!
Selection & Vectorization
Once you’ve exhausted your creative juices, it’s time to review and select the most promising options to develop further. Scan your sketches and vectorize them in Adobe Illustrator. Now you can also experiment further with how the identity will expand from just the logo to other design elements and applications.
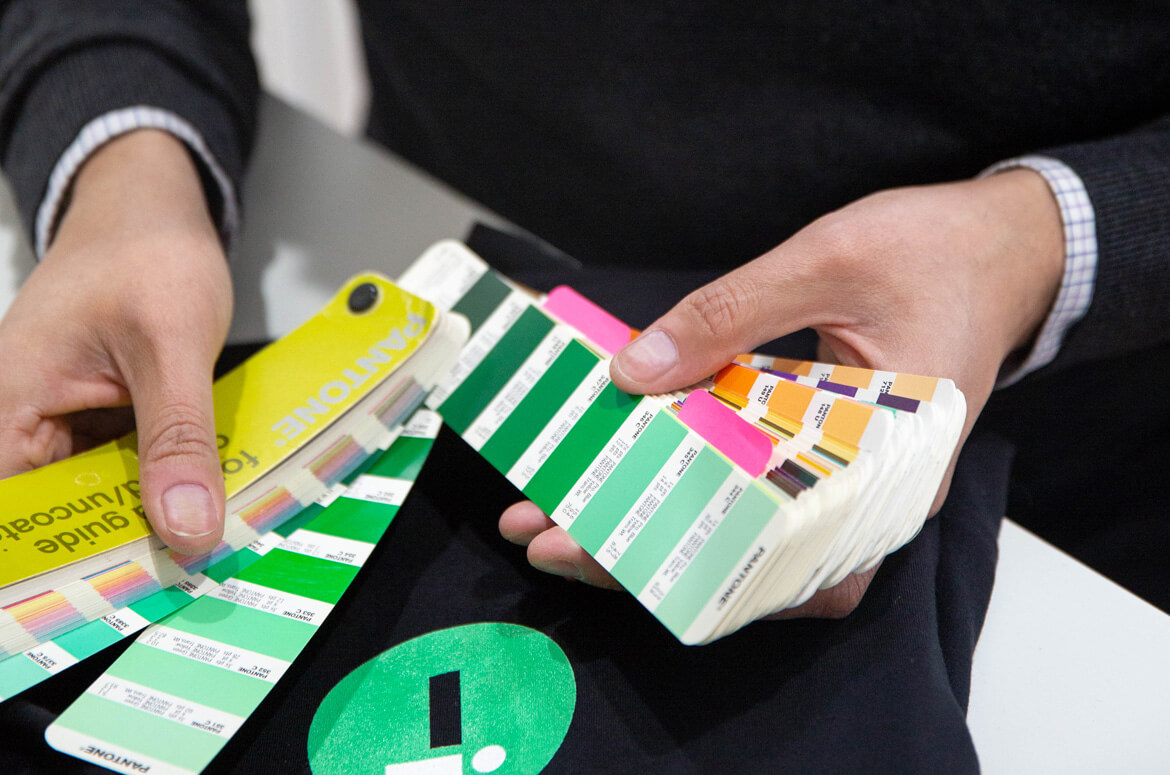
All About the Context
Remember, the logo will almost never be shown alone on a clean white backdrop. It will be paired with typography, photography, or illustration. It will be printed on a bus, embroidered on a jacket, or included on a website. There are also other elements to consider, like patterns, icons, and an expansive color palette. Always consider the context and application of an identity.
Presentation & Recommendation
At this point, we are not shooting arrows in the dark and hoping something sticks. A designer should select and recommend which options are the most viable solutions and meet the criteria of the design brief.
How to Prepare
Whether the presentation will be made using Keynote during a Google Hangout or in person, be organized, concise, and inspiring. Give yourself time in the project schedule to prepare the visual presentation as well as how you will walk the client through each slide. Prepare notes and anecdotes to keep the presentation engaging. Never just shoot off a PDF in an email hoping the client will understand the context and concept.
What to Communicate
Some think an identity should “speak for itself.” Actually, identities are not always intended to be obvious or literal at first glance. For example, Apple doesn’t use a computer for their logo and FedEx doesn’t use a shipping box for theirs, but both logos have meaning that express the sentiment of the company. Convey the meaning of all the elements of the new identity to the client. Start by reviewing the previous steps in the process to provide a roadmap to all of the decisions. Then, share your recommendations and explain why they’re the best fit.
The Right Response
A designer may be tempted to seek praise for a job well done rather than guide the conversation to the goals of the project. Clients, who may be at a loss for words, will end up making one of two statements, “I like it” or “I don’t like it.” Although designers welcome the first response, neither are helpful for either party. Instead, the conversation should navigate to, “how does this solution respond to the brief?” The designer should learn to facilitate this conversation. If the client and designer can get passed likes and dislikes, both can agree on a direction that’s best for the future of the company.
Revisions & Hand-off
Maybe you knocked it out of the park in the first round. Wonderful! Begin to prepare files for the client hand-off. If not, it’s time to work through a round of revisions.
Know What to Revise
When it comes to revisions, make sure everyone is clear about what specifically needs adjustment before proceeding. Don’t assume you understand vague or ambiguous feedback. You’re not a mind reader, so ask for clarification. When everyone is crystal clear you will save yourself from an endless revision loop between the two parties.
Identity Guidelines
The purpose of an identity guide is to organize and define a company’s look, feel, voice, and tone in a way that can be used by employees and contractors alike. The most simple guides will show how to and how not to use the new logo with its various lock-ups. It will provide details for the brand color palette and typography. A more developed guide will also include brand personality traits, voice and tone, and examples of the identity in use.
File Preparation
Prepare your files in an organized way so when the client receives them they can begin to use them without any hassle. I normally create a project folder with numbered folders inside of it that include the file type (e.g. 1. Identity Guide, 2. EPS, 3. JPG, etc.). I also add folders for any other files related to the project, like Social Media Kit and Stationery. Hand off files with a helpful explanation of the elements the client will find the folder.
What’s next?
A brand is something that grows from infancy to maturity. Different from the short-term results of a mere marketing scheme, brands build long-term equity and trust with time. Hopefully, by the time the files are handed over a lasting partnership has been developed. Now you can begin to implement the brand identity throughout all of the customer touch points, advertising, and in-house needs.
If you’re a designer, I hope this article provides a solid framework for you to develop identities with more confidence. If you’re a business owner looking for a strategic partner to develop your brand identity, let’s talk.